What is a Virtual Terminal?
A virtual terminal is a software application for merchants, which allows the merchant to accept payments without requiring the physical presence of the card.
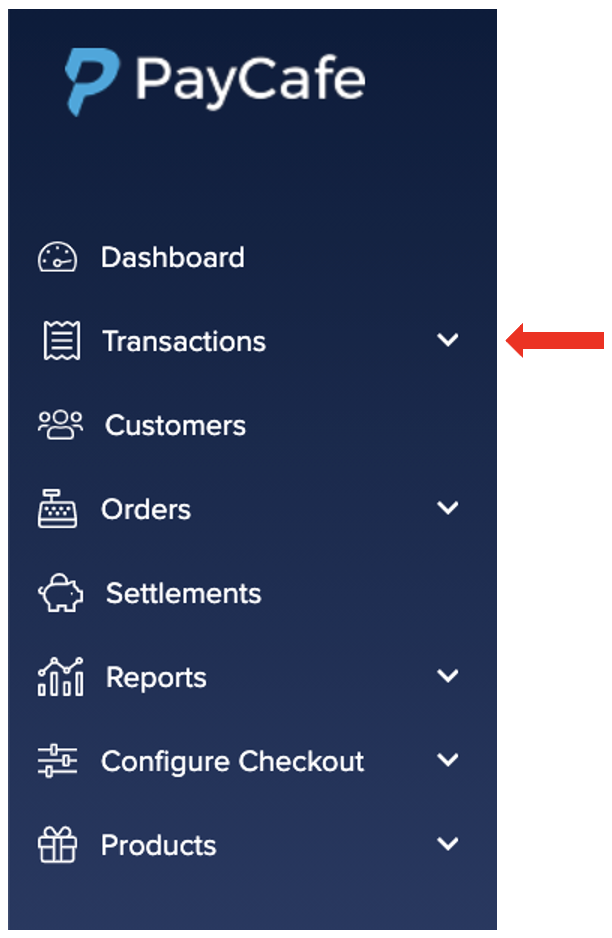
Step 1: Log into Merchant Portal at https://merchant.paycafe.com/login![]()
Step 2: Click on Transactions
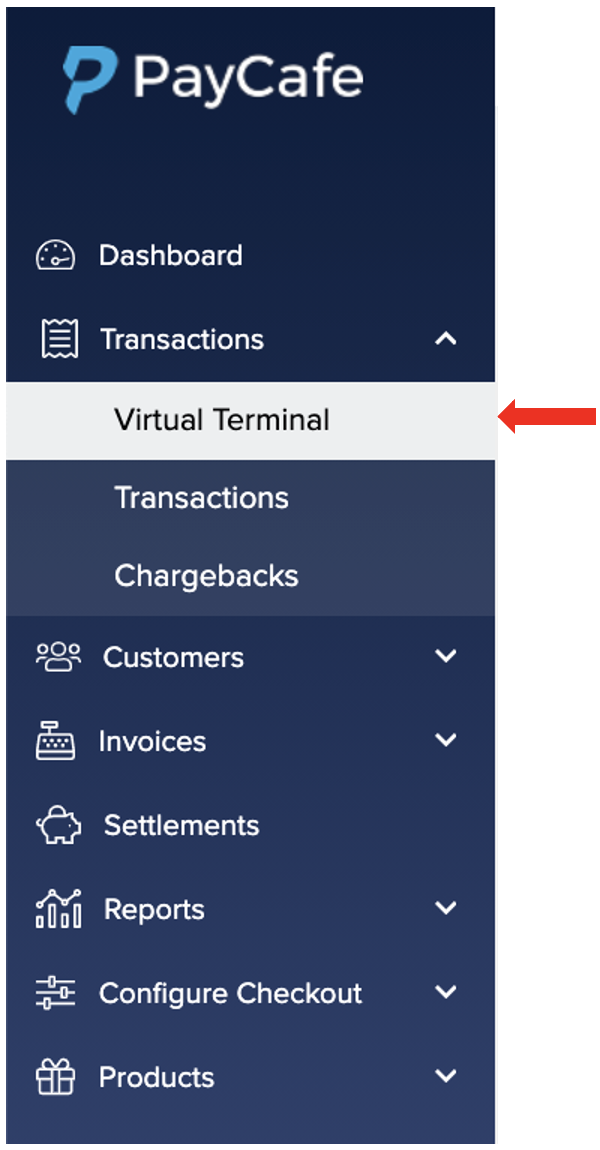
![]() Step 3: Click on Virtual Terminal
Step 3: Click on Virtual Terminal
 Processing a Payment
 Important: Use this form to process a one-time credit card sale instantly.
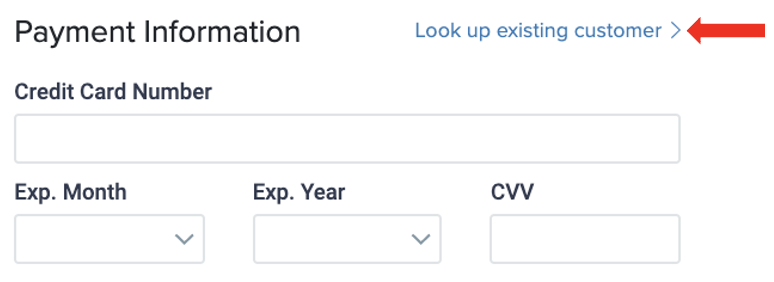
This feature requires you to enter a new customer's payment information or retrieve an existing customer's stored information (you must re-enter a stored card's CVV). Contact details are not required, but if an address is entered it must be complete.
Step 4: To look up existing customers' information, please click on Look-up Existing Customers
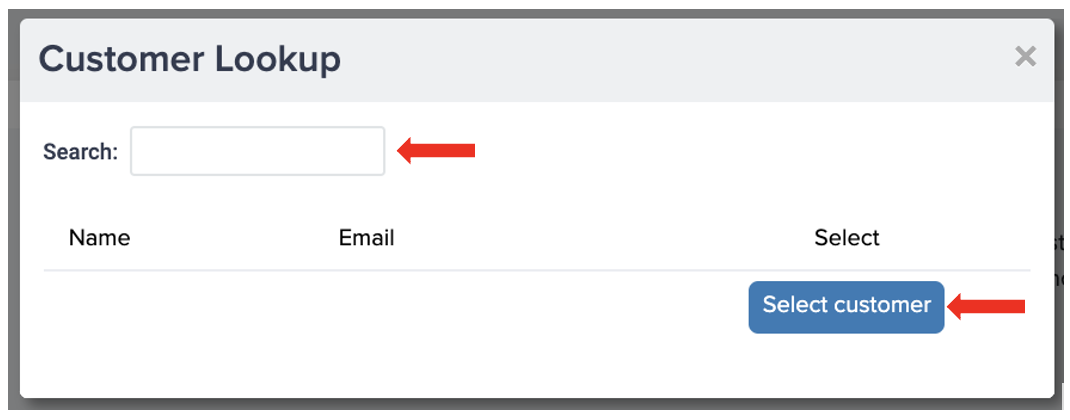
![]() Step 5: A pop-up window will appear. Enter your customers' name or email address in the search field. Once you locate your customer, click on Select Customer.
Step 5: A pop-up window will appear. Enter your customers' name or email address in the search field. Once you locate your customer, click on Select Customer.
Your customers' information will appear under Payment Information. CVV code is required to be entered for all existing customers.
 You'll follow this step to add new customers' payment information. For existing customers', their payment information will be automatically added.
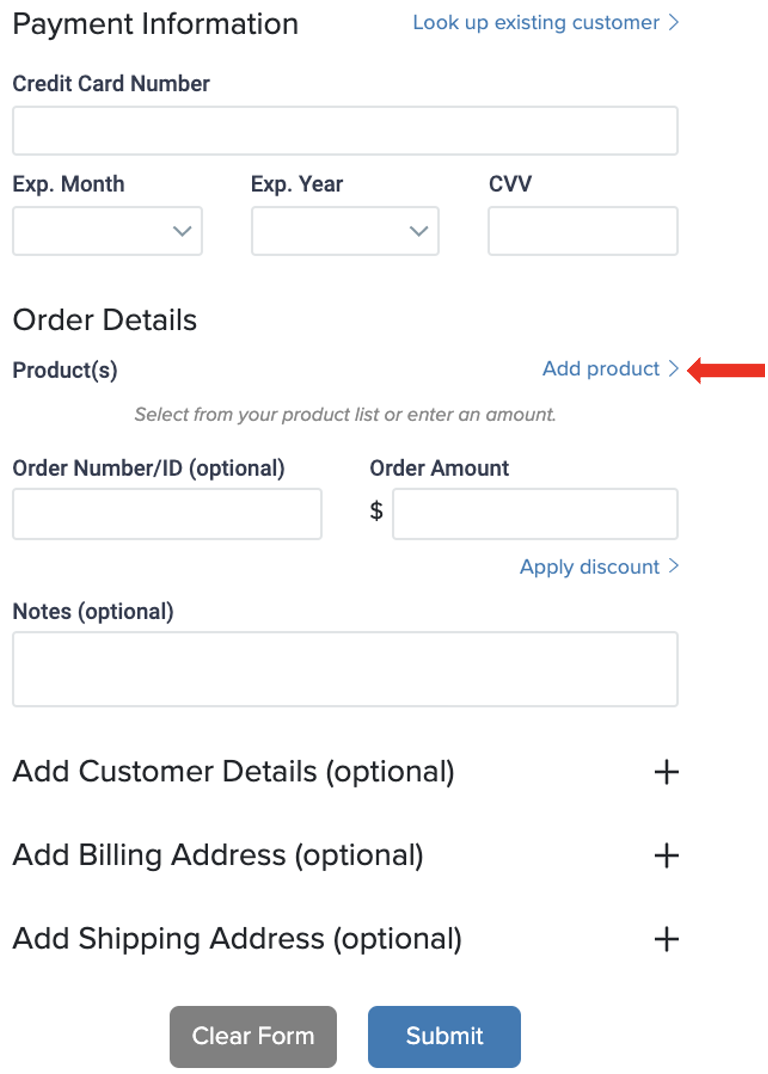
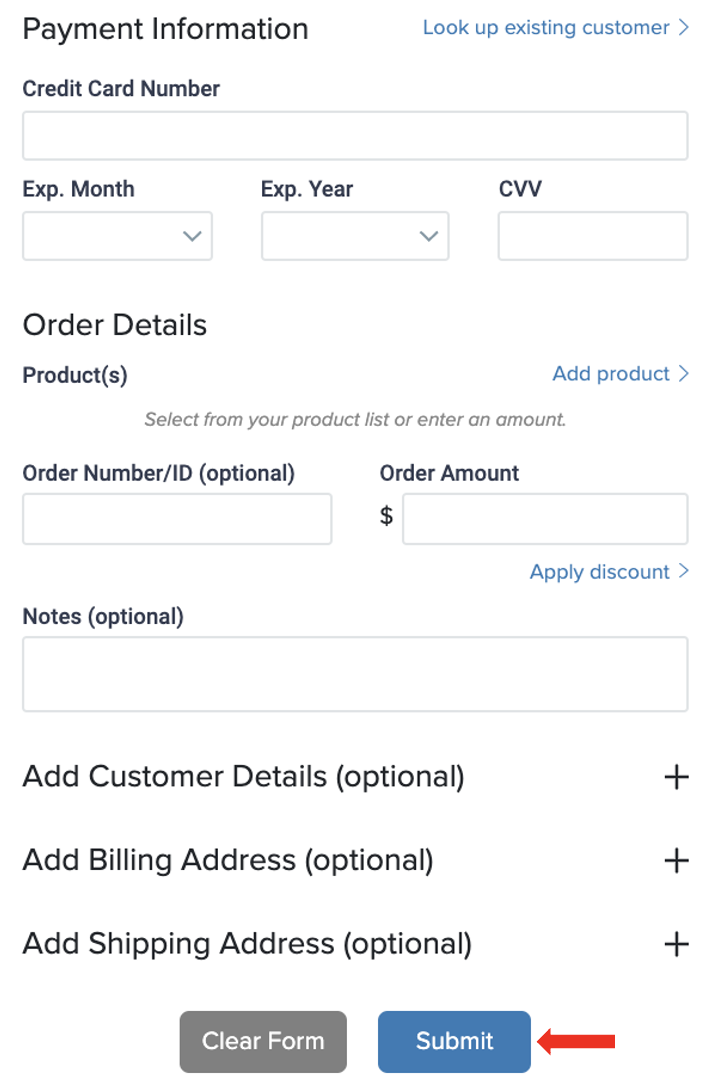
Step 6: Enter your new customers' payment information

![]() Step 7: To add a product, click on Add Product
Step 7: To add a product, click on Add Product
Note: For instructions on how to add products to your merchant account, click here Add Products
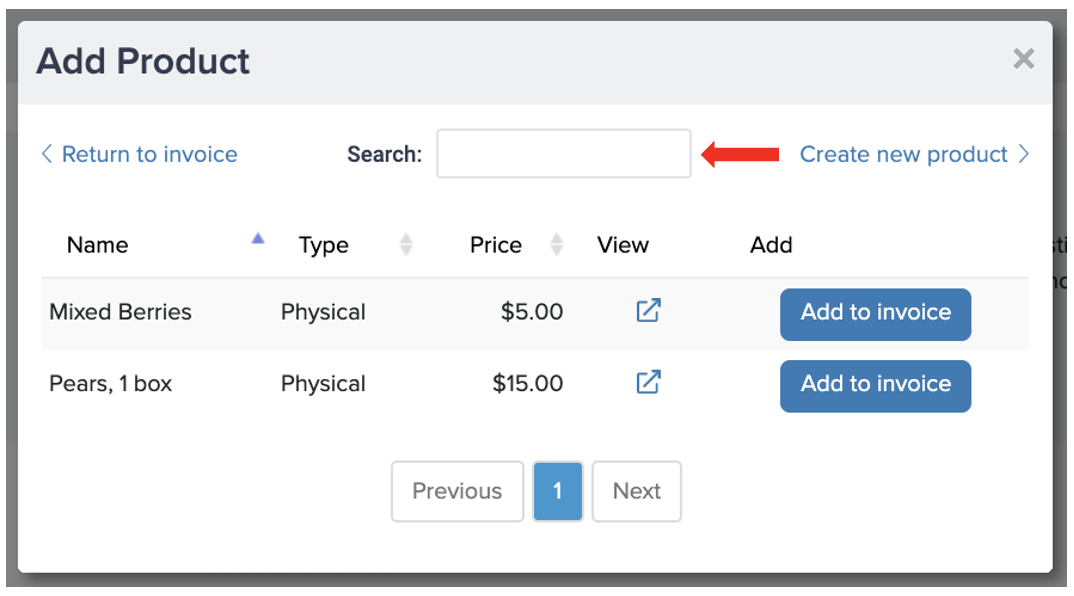
![]() Step 8: To locate the product, enter the product name in the search field.
Step 8: To locate the product, enter the product name in the search field.
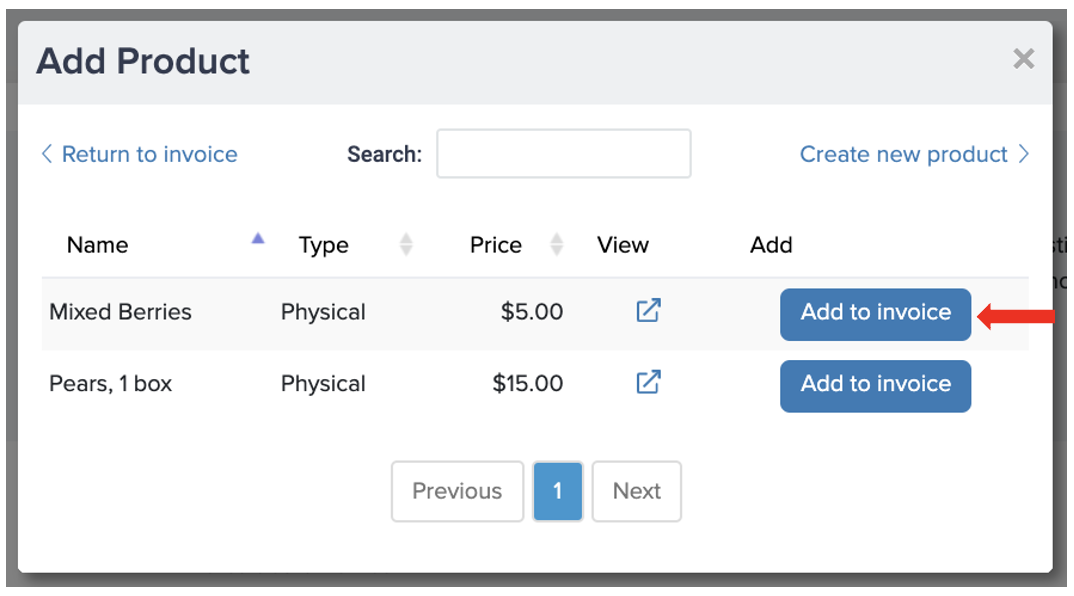
![]() Step 9: Once you have located the product, click on Add to Invoice.
Step 9: Once you have located the product, click on Add to Invoice.
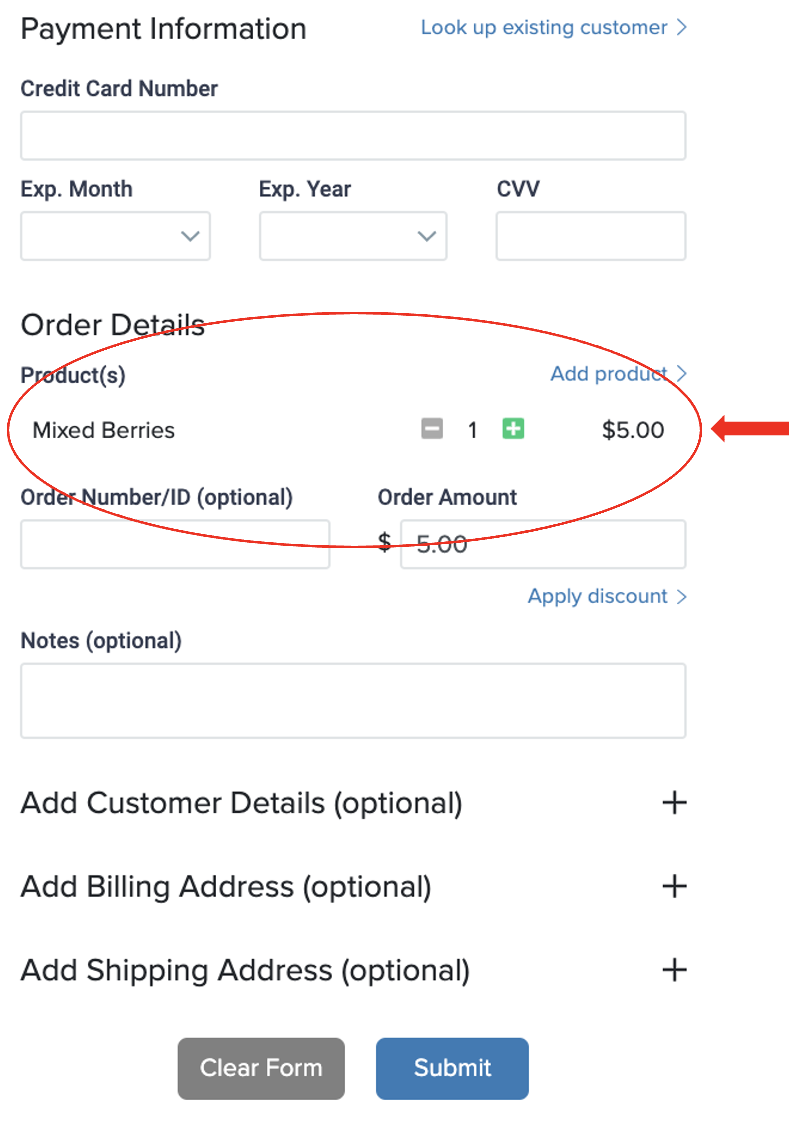
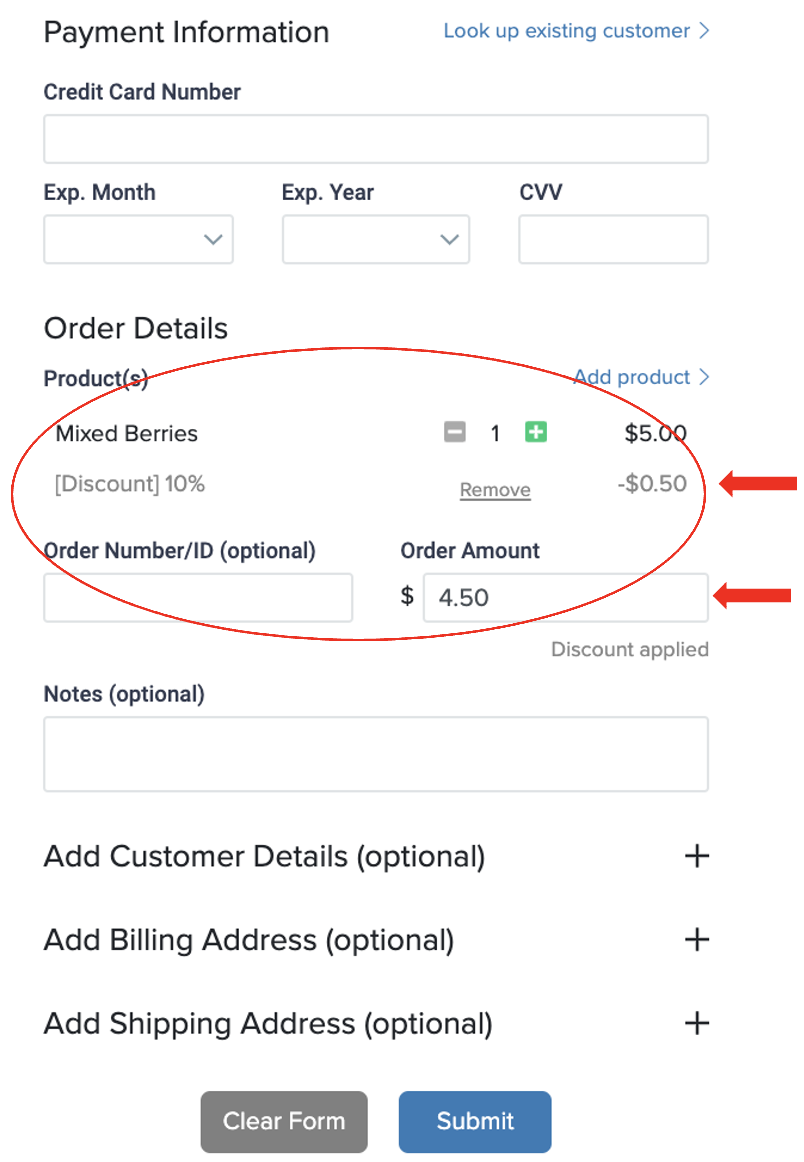
Your product and order amount will appear under Order Details. Please see the example below.
 Adding a Discount
There are two options to add a discount. You can choose from a dollar amount or percentage. Adding a discount is optional. If there is no discount offered for this product, you can bypass this step.
Step 10: Enter the dollar amount or percentage of your discount and click on Apply.
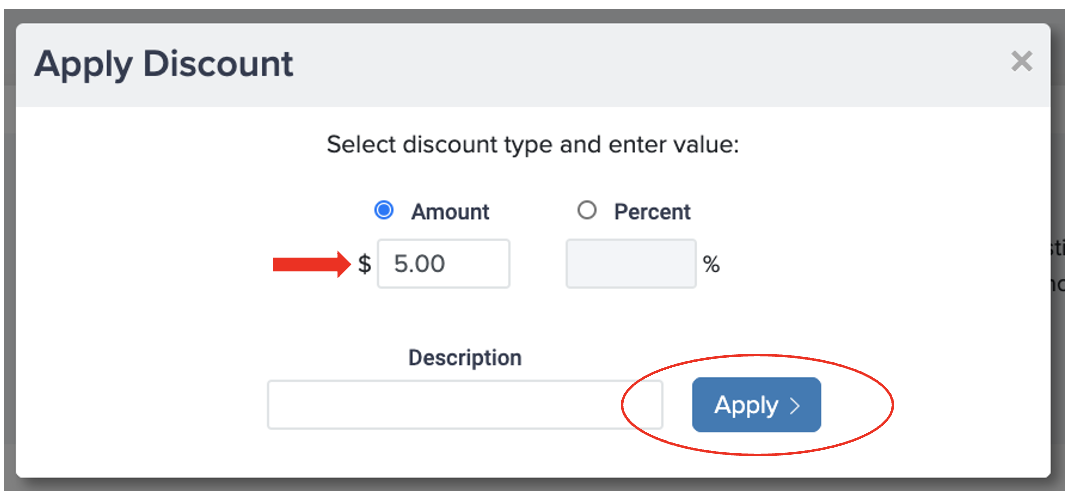

Your discount will appear under Order Details. If you want to remove or adjust your discount, click on Remove.
Adding your Customers' Details
Side note: If you choose to add your new customers' details, this must be done prior to submitting payment. If you choose not to add your customers' details, you can bypass steps 11-13.
Step 11: Click on + symbol to add customer details
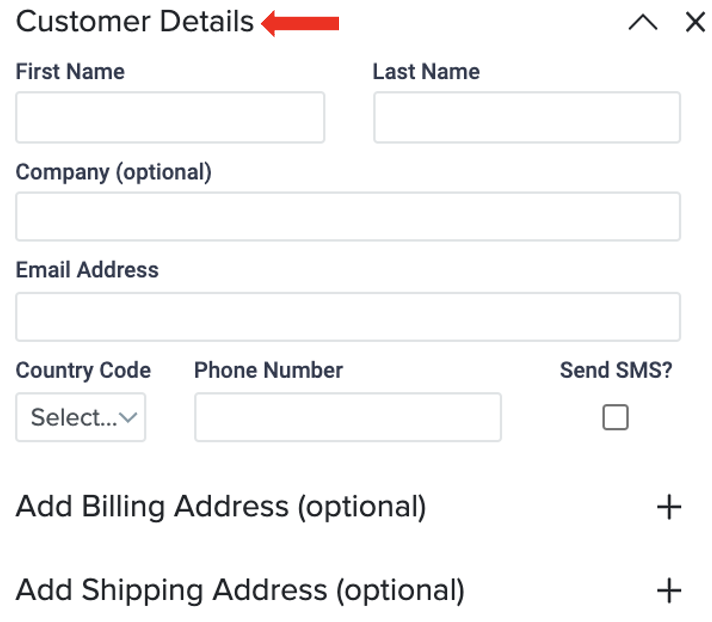
![]() Step 12: Click on + symbol to add billing details
Step 12: Click on + symbol to add billing details
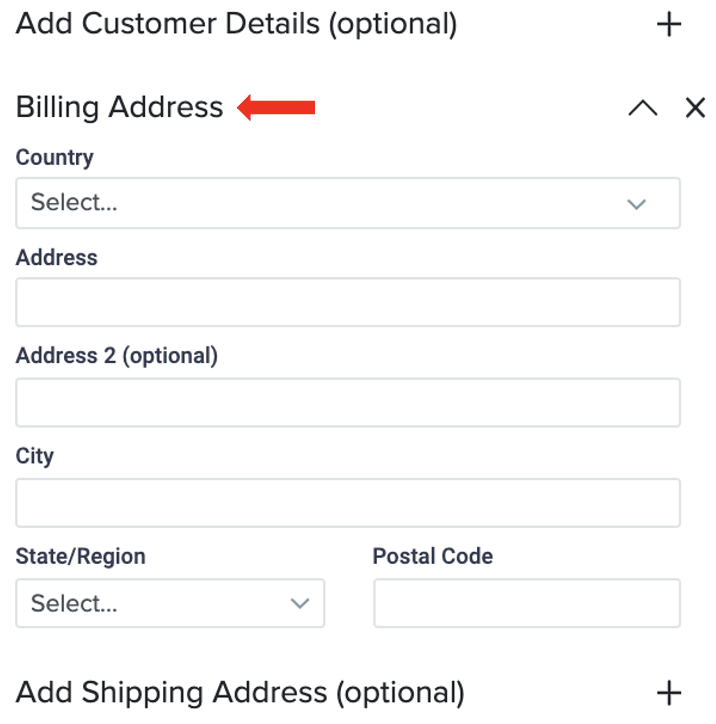
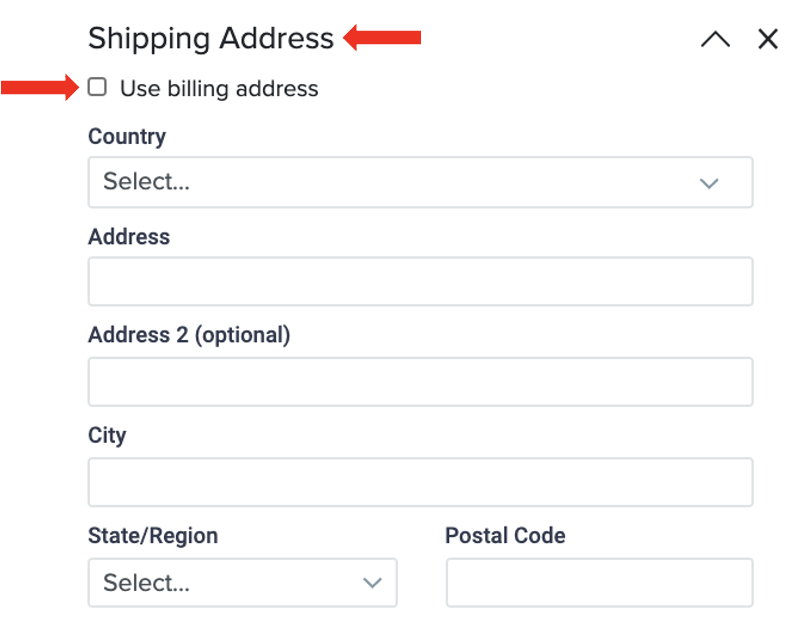
![]() Step 13: Click on + symbol to add shipping details
Step 13: Click on + symbol to add shipping details
Side note: If the billing address is the same as the shipping address, checkmark the Use Billing Address box. The customers' address will be automatically added.
![]() Step 14: To process your transaction, click on Submit.
Step 14: To process your transaction, click on Submit.
What Happens Next?
An invoice will be emailed to your customer. You can also find instructions on how to view your invoice history here View Invoices.
If you have questions or need assistance with setting up your virtual terminal, please submit a support ticket through the merchant portal at https://merchant.paycafe.com/login.
We also welcome feedback from our merchants. Please send us your suggestions at suggestions@paycafe.com .